Taking on toilet training for children is a huge milestone for any family, but when your child has autism or developmental delays, it brings a unique set of challenges and triumphs. It’s not just about getting the right toilet training toilet or potty. Real success comes from creating a gentle, customized plan that truly understands and supports your child’s sensory, communication, and behavioral needs.
A Compassionate Guide to Toilet Training for Children
Welcome. If you’re here, you probably already know that generic, one-size-fits-all toilet training advice just doesn’t cut it. This process is so much more than learning a new bathroom routine; it’s a journey that touches on sensory processing, motor skills, communication, and emotional regulation.
We’ve designed this guide to move past the typical checklists and timelines. It’s built on a foundation of empathy and expertise from our team of specialists in educational psychology, Occupational Therapy (OT), Speech-Language Pathology (SLP), and Applied Behavior Analysis (ABA). Our goal is to give you the tools and confidence to build a plan that truly works for your child, turning what feels like a monumental task into a series of achievable, positive steps.

Key Differences in Toilet Training Approaches
To really appreciate why a specialized plan is so important, it helps to see the differences side-by-side. Standard toilet training often follows a fairly predictable, age-based path. But for a child with unique needs, that approach can easily lead to frustration and setbacks for everyone involved.
The table below breaks down the core differences between a typical training path and the kind of personalized, multidisciplinary approach we advocate for.
| Training Aspect | Typical Approach | Specialized Autism Approach |
|---|---|---|
| Readiness Cues | Focuses on age and following verbal directions. | Looks for a wider range of cues, like showing interest, staying dry longer, or non-verbal signals. |
| Sensory Factors | Assumes the bathroom environment is neutral. | Actively manages sensory inputs: the flush sound, seat temperature, lighting, and clothing textures. |
| Communication | Relies heavily on verbal communication (“Do you have to go potty?”). | Uses visual aids (like a PECS card), sign language, or AAC devices to help the child communicate their needs. |
| Motivation | Uses general praise, stickers, or treats. | Creates a highly individualized reinforcement system based on the child’s specific, powerful motivators. |
| Pacing & Goals | Follows a linear, step-by-step progression. | Breaks down the process into tiny, manageable steps and adapts the pace entirely to the child’s progress. |
Seeing it laid out like this makes it clear: a specialized plan isn’t just a slightly modified version of the standard one. It’s a completely different framework, built from the ground up to support the individual child.
The heart of this philosophy is simple: Success isn’t about how fast your child learns. It’s about building a foundation of comfort, clear communication, and lasting confidence.
By adapting the environment and our strategies to fit your child—not the other way around—we create a positive, empowering, and sustainable learning experience. This guide will walk you through everything, from figuring out if they’re ready to handling accidents with grace, so you feel supported every step of the way.
How to Assess Readiness and Build a Personalized Plan
Successful toilet training doesn’t just happen the first time you head to the bathroom. It actually starts way before that, with you becoming a bit of a detective, carefully observing and understanding your child’s unique pace. Pushing them before they’re truly ready is a recipe for frustration for everyone involved, so the first real step is always to check for readiness from a few different angles.

Those generic checklists you find online—the ones asking if your child can stay dry for two hours or tell you they have to go—are a decent starting point. But they don’t paint the full picture, especially for autistic children or those with developmental delays. We need to look much deeper into the cognitive, motor, and sensory signs that tell us they’re genuinely prepared.
Reading the Subtle Cues of Readiness
So, before you even think about buying a potty, just watch. Your child is already sending signals about their readiness, often in ways you might not expect.
An educational psychologist, for example, will be looking at cognitive readiness. Can your child follow a simple, one-step direction like “come here” or “get the ball”? This is a huge clue because it shows they can understand the basic steps involved in using the toilet.
Then you have the occupational therapist (OT), who will be assessing critical motor skills. They’ll check for things like having the core stability to sit on a small chair and the basic coordination to start pulling pants up and down. These physical skills are essential for independence, and you can find great ideas to build them in our guide to fine motor skills activities.
Finally, an ABA therapist zeroes in on what truly motivates your child. Figuring out their most powerful reinforcers—whether it’s a favorite toy, a silly song, or a big high-five—is the secret sauce for building a positive and effective plan later on.
A Practical Readiness Checklist
To help you get started, here’s a practical observation guide. Remember, this isn’t a test! Don’t stress if your child doesn’t check every single box. The goal here is to identify their strengths and see where they might need a little extra support.
Physiological Signs:
- Does your child stay dry for periods of at least 1-2 hours during the day?
- Are their bowel movements fairly predictable, happening around the same time each day?
- Do they show physical signs of needing to go, like grunting, squatting, or hiding in a corner?
Motor Skill Indicators:
- Can they walk to and from the bathroom on their own?
- Are they able to sit on a small chair or potty for a minute without toppling over?
- Do they try to help when you’re dressing them, maybe by pushing their arms through sleeves or pulling at their pants?
Cognitive and Communication Signals:
- Do they seem curious when you use the toilet?
- Can they point to different body parts if you ask them to?
- Do they act uncomfortable in a dirty diaper, maybe by pulling at it or getting fussy?
Building a plan starts with data, not a date on the calendar. Grab a simple notebook and, for about a week, jot down when your child is wet or dry, when they have a bowel movement, and any behaviors you notice right before. This little log will become the blueprint for your personalized schedule.
Building Your Individualized Plan
Once you’ve spent some time observing and gathering information, you can start to piece together a plan. This isn’t about carving a rigid schedule into stone. Think of it more like a flexible framework that honors your child’s current abilities while gently guiding them toward the next step.
For some foundational advice on kicking off this milestone with a positive mindset, exploring some effective and gentle toddler potty training tips can be a great place to start.
Your plan should pinpoint a starting line based on your child’s unique profile. For instance, if your child is great at following directions but still struggles with pulling up their pants, your first focus will be on fun, play-based activities to strengthen those motor skills. If sensory sensitivities are the main hurdle, the plan will prioritize creating a calm and inviting bathroom environment, which we’ll dive into next.
This personalized strategy ensures you’re meeting your child exactly where they are, setting them up for confidence and success from day one.
Creating a Supportive and Sensory-Friendly Bathroom
Think about the bathroom from a child’s perspective for a moment. It can be a strange, echoey room filled with loud noises, cold surfaces, and bright lights. For a child with sensory sensitivities, it can be downright overwhelming. This is why one of the most important first steps is to transform that space from a potential source of anxiety into a calm, predictable, and even fun place to be.
The environment itself can be your greatest ally or your biggest obstacle. Getting it right makes everything that follows so much easier.

This transformation often begins with the equipment. The choice between a little standalone potty and a seat reducer for the big toilet isn’t just a matter of convenience; it’s about what will make your child feel most secure.
Choosing the Right Toilet Training Equipment
A small, standalone potty often feels less scary to a young child. It’s their size, it’s low to the ground, and you can even place it in a comfortable spot outside the bathroom to start. The only real downside is that it creates an extra step down the road when you have to transition them to the regular toilet.
Using a seat reducer on the main toilet, on the other hand, gets them used to the real thing from day one. If you go this route, a sturdy step stool is non-negotiable. It’s absolutely essential for your child’s feet to be flat and supported—this helps them feel stable and is better for proper posture.
Here’s a quick breakdown to help you decide:
| Equipment Feature | Standalone Potty | Toilet Seat Reducer & Stool |
|---|---|---|
| Intimidation Level | Lower; child-sized and less daunting. | Higher; can feel big and unstable without proper support. |
| Portability | High; can be moved to any room. | Low; fixed to the bathroom’s main toilet. |
| Stability | Generally good, but some models can tip. | Excellent with a quality, non-slip stool and secure reducer. |
| Transition Step | Requires an extra step to the big toilet later. | No extra transition step needed. |
| Cleaning | Requires emptying and cleaning after each use. | Simpler; flushes directly into the toilet. |
Ultimately, there’s no single “best” choice. It’s about what works for your child. You might even find success starting with a standalone potty and introducing the big toilet later, once the basic routine is familiar.
Crafting Powerful Visual Supports
Predictability is a powerful calming tool. For many autistic learners, knowing exactly what to expect is the key to reducing anxiety and encouraging cooperation. This is where visual supports become your secret weapon.
A simple visual schedule can completely reframe the experience. It breaks down what feels like a complicated process into a clear, manageable sequence. You don’t need to be a graphic designer—simple photos or clear drawings are perfect.
- Try a “First-Then” Board: This is a fantastic starting point. A board showing “First Toilet, Then iPad” or “First Potty, Then Bubbles” makes the expectation and the reward crystal clear.
- Create a Step-by-Step Sequence: Make a visual strip that shows the whole routine: pants down, sit on toilet, pee/poop, wipe, pants up, flush, and wash hands. Laminate it and tape it to the wall at your child’s eye level.
- Use Social Stories: A social story is just a short, personalized narrative that explains a situation and the expected actions. Writing a simple story about using the toilet, featuring pictures of your child and your own bathroom, can make the entire process feel much more familiar and less intimidating.
These visual aids act as a roadmap, taking the guesswork out of the process and empowering your child with a sense of control.
Managing Sensory Hurdles in the Bathroom
The sensory experience of a bathroom can be a lot to handle. The sudden, loud roar of a flush, the cold shock of the toilet seat, or the echoey acoustics can be enough to cause real distress. Our experts in occupational therapy in Dubai frequently work with families on simple, practical adjustments to make the space more inviting.
A child’s resistance to the toilet is often not defiance, but a reaction to sensory overload. Addressing the source of the sensory discomfort is key to moving forward positively.
Here are a few simple but highly effective modifications to consider:
- Muffle the Flush: The flush is a very common trigger. For automatic toilets, try putting a sticky note over the sensor to give your child control. With a manual flush, you can have your child leave the room before you flush, or turn it into a game by having them wear earmuffs and push the button with you.
- Warm the Seat: A cold toilet seat can be a jarring sensory shock. A soft, padded toilet seat cover is a simple fix that makes sitting down much more comfortable.
- Adjust the Lighting: Harsh fluorescent lights can be agitating. If you can, install a dimmer switch. If not, even a small, warm-toned lamp can create a much calmer atmosphere.
- Provide a Fidget Toy: Create a special basket of engaging sensory toys that are only available during toilet time. This builds a positive association and gives your child something to focus on while they sit and wait.
By thoughtfully adjusting the environment, you’re not just redecorating; you’re removing invisible barriers and creating a supportive space where your child can learn this important skill with confidence.
Putting Proven ABA and OT Strategies into Action
This is where all your thoughtful planning starts to pay off and you see real, day-to-day progress. Bringing strategies from Applied Behavior Analysis (ABA) and Occupational Therapy (OT) to life is all about creating a learning experience that’s clear, positive, and motivating. It’s not about pressure. It’s about teaching a complex skill, step by step, in a way your child can truly understand and eventually master.

The basic idea is to break down the entire process of going to the bathroom into the smallest possible pieces. Then, we use powerful, positive reinforcement to connect every small success with something wonderful. At the same time, we’ll use fun, play-based OT activities to build the physical skills they need to be more independent.
Building a Powerful Reinforcement System
Positive reinforcement is the absolute cornerstone of any good ABA-based plan. It simply means you immediately give your child something they love right after they do what you asked, like sitting on the toilet or successfully peeing. This instant feedback helps their brain link the action with a great outcome, making them much more likely to do it again.
For children with autism, this can’t be an afterthought; it has to be very deliberate and completely individualized. A generic sticker chart probably won’t cut it. The reward has to be something your child finds highly motivating.
Here’s how to build a system that works:
- Find High-Value Rewards: Make a list of things your child absolutely loves. This might be five minutes on the tablet, a specific crunchy snack, a favorite little toy, or even just a silly song and dance with you.
- Make Them Exclusive: The most powerful rewards are the ones they get only for toilet training. This makes them extra special and really ramps up the motivation to earn them.
- Deliver Instantly: The reward has to appear within seconds of success. If you wait, your child won’t make that crucial connection between what they just did and the treat they received.
A reward system is your most powerful teaching tool. It’s not bribery; it’s a clear and immediate form of communication that says, “Yes, that’s exactly what I want you to do!”
Getting these foundational concepts right is key. You can learn more about how these ideas work across different learning goals by exploring the key principles of ABA for autism. To dig even deeper, check out these proven positive reinforcement techniques that many parents find incredibly effective.
Mastering Scheduled Sits and Communication
With your motivators ready, it’s time to build a predictable routine. This all starts with “scheduled sits”—taking your child to the bathroom at regular, planned times. It’s a proactive approach that creates lots of opportunities for success before an accident can even happen.
Your data log from the assessment phase is your best friend here. If you noticed your child often pees about 20 minutes after a big drink, you’ll schedule a trip to the bathroom right around that time. At the beginning, you’ll want to start with short, frequent trips, maybe even every 30 minutes.
The goal of these first few sits is just to build comfort and routine. Don’t even worry about whether they actually go. Instead, reward them just for sitting calmly on the toilet for a brief moment—even ten seconds is a win! You can gradually increase the sitting time as they get more comfortable.
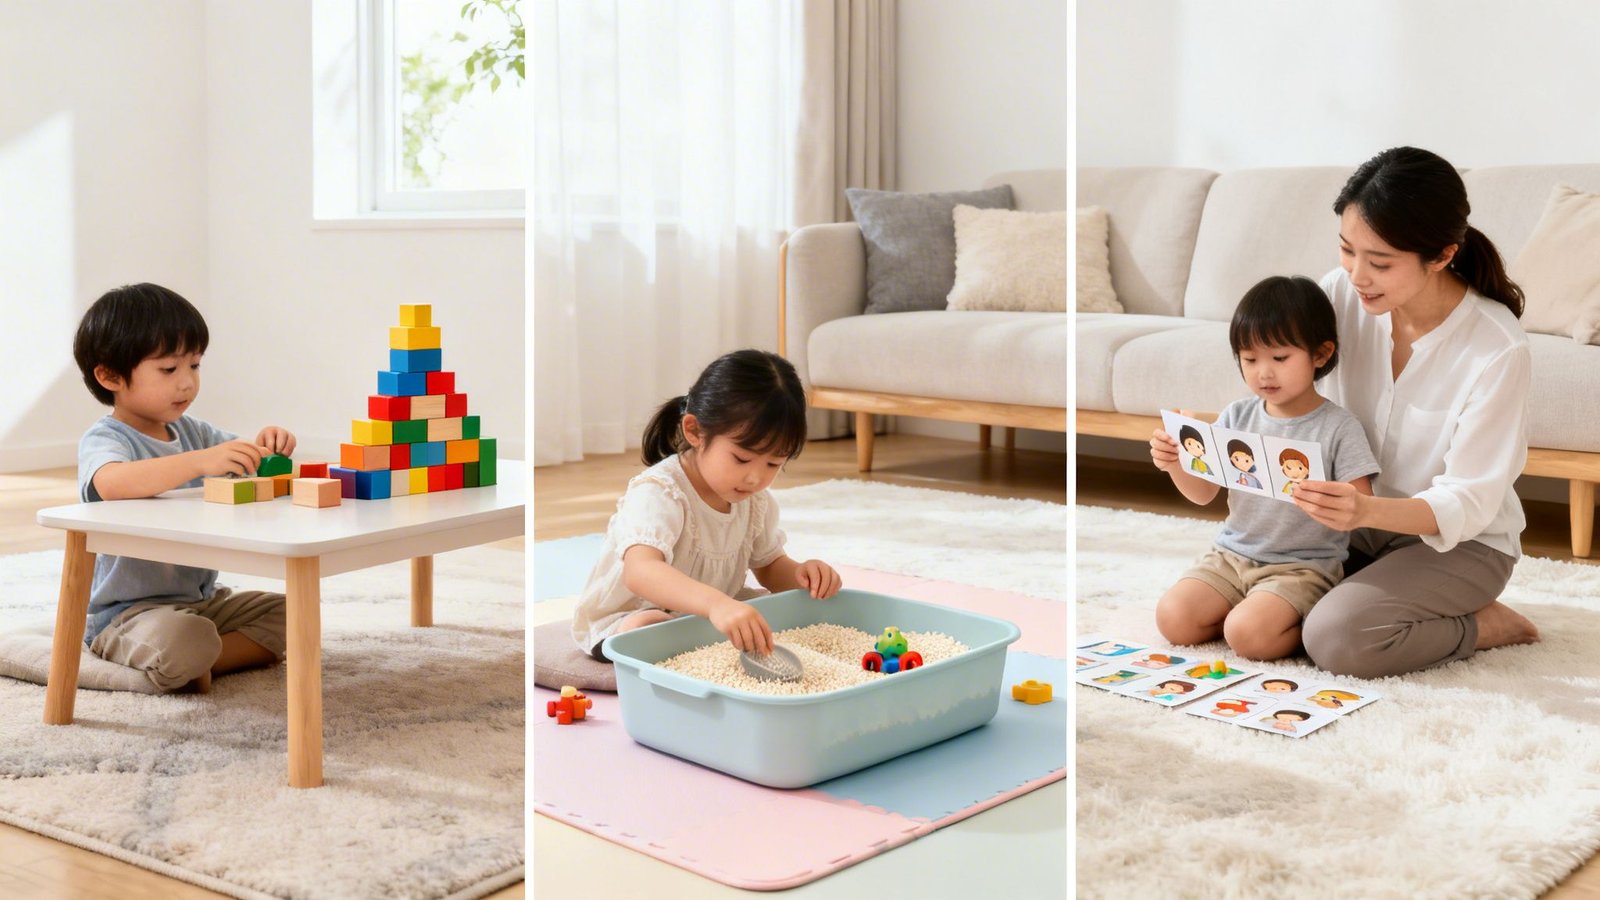
Integrating Play-Based Motor Skill Development
Occupational Therapy adds a really fun, functional piece to the puzzle by focusing on the physical side of things. Many children don’t struggle with the concept of the toilet; they struggle with the motor skills needed to pull their pants up and down.
Instead of turning dressing into a battle, weave these skills into playtime:
- “Dress the Teddy” Games: Have your child practice pulling oversized shorts or pants onto a large stuffed animal.
- Stretching and Bending: Play games like “Simon Says” with commands like “Simon says touch your toes!” to practice bending and reaching.
- Heavy Work Activities: Simple tasks like pushing a toy box across the room or carrying a small stack of books helps build core strength, which is essential for staying balanced while managing clothing.
By embedding these exercises into play, you take the pressure off. It makes learning the physical parts of toileting feel natural and even enjoyable, building both confidence and physical independence.
Teaching Communication for Toileting Needs
While you’re building the routine, it’s also the perfect time to teach your child how to communicate their needs. For some children, this will be verbal, but for many others, it will start with non-verbal methods. The goal is to give them a reliable way to tell you they need to go before an accident happens.
Choose one clear communication method and stick with it consistently.
- Sign Language: Teach the simple, universal sign for “toilet.”
- Picture Exchange (PECS): Have a laminated picture of a toilet that your child can hand to you.
- Communication Device: Program a button on their AAC device that says or shows “toilet.”
Every time you take them for a scheduled sit, prompt them to use their communication method first. For example, before you walk to the bathroom, gently guide their hand to the toilet picture and help them give it to you. Over time, with enough repetition, they will learn to initiate this on their own—a massive step toward true toileting independence.
What to Do When Things Go Sideways: Navigating Hurdles with Confidence
Let’s be real: even with the best plan in the world, toilet training is never a straight shot to success. It’s more of a winding path with exciting progress, frustrating plateaus, and the occasional U-turn. Expecting these bumps in the road and knowing how to handle them calmly is half the battle.
Challenges are completely normal. A sudden fear of the toilet or a string of accidents after weeks of dry pants doesn’t mean you’ve failed. Think of these moments as invitations to pause, watch what’s happening, and tweak your approach with a dose of patience.
Understanding Fear and Resistance
One of the most common things I see is a child suddenly becoming terrified of or resistant to the toilet. This can look like refusing to even enter the bathroom, crying when placed on the potty, or having a full-blown meltdown near the toilet training toilet. It’s so important to remember this is almost never a child being defiant—it’s a genuine reaction to something that feels scary or overwhelming.
What could be going on? Maybe the loud, sudden whoosh of the flush is startling. Perhaps the cold seat is a sensory shock, or they feel unstable sitting so high off the ground. Resistance can also be a classic toddler power move as they start discovering their independence. The key is to put on your detective hat, not your “frustrated parent” hat.
- If it’s fear: Try to pinpoint the source. Scared of the flush sound? Let them flush it with the lid down, maybe even while wearing noise-canceling headphones. Wobbly on the seat? Make sure their feet are planted firmly on a sturdy stool. That sense of security makes a world of difference.
- If it’s resistance: Take all the pressure off. Seriously. If they refuse to sit, that’s okay. For that trip, maybe the goal is just to walk into the bathroom, touch the toilet, and wash hands. Reward those tiny steps to start building back positive feelings about the space.
Here’s the bottom line: you can’t force a child to use the toilet. Your job is to create an environment that feels so safe, predictable, and positive that they eventually choose to use it on their own.
The Overlooked Link: Constipation and Toileting Troubles
Sometimes, the roadblock isn’t behavioral at all—it’s physical. Discomfort in the tummy, especially constipation, is a huge and often-missed obstacle. If it hurts to poop, a child will quickly learn to associate the toilet with that pain. Soon, they start holding it in to avoid the feeling, and a vicious cycle begins.
This connection is a really big deal for many children on the autism spectrum. In the AE region, gut health issues can really complicate toilet training, with constipation being a particularly stubborn problem. Regional data shows that nearly 40% of autistic individuals deal with issues like chronic constipation, which makes learning bowel control physically challenging. In fact, research shows that constipation is a primary driver of toileting resistance in ASD, affecting a staggering 49.1% of children. You can read more about how autism can affect potty training on BiermanAutism.com.
If you notice your child is straining, having hard or infrequent bowel movements, or complaining that their stomach hurts, stop everything and talk to your pediatrician. Pushing toilet training when a child is in pain will only cement a negative association that’s incredibly hard to undo.
How to Handle Accidents Like a Pro
Accidents are going to happen. They are not failures. They are data. Each one gives you valuable information about your child’s patterns and your timing. Your reaction in these moments is everything.
Getting angry or showing disappointment can make your child feel ashamed and anxious, which shuts down the learning process. The best approach? Be calm, neutral, and matter-of-fact.
A 3-Step Process for Managing Accidents
- Stay Neutral: Use a simple, non-judgmental phrase. “Uh oh, pee is on the floor. Pee goes in the toilet.” Keep your tone of voice and body language totally relaxed.
- Involve Your Child (Gently): This isn’t a punishment; it’s about teaching a natural consequence. Ask them to help in a small, age-appropriate way, like carrying their wet clothes to the hamper or helping you wipe the spot with a paper towel.
- Reset and Move On: After cleaning up, a quick trip to the bathroom to sit on the toilet for just a second can help reinforce where pee and poop are supposed to go. Then, get them dressed and carry on with your day. Don’t dwell on it.
This consistent, low-key response teaches your child that accidents are no big deal while gently nudging them back toward the correct routine. It keeps the whole process low-stress and helps them feel safe enough to keep trying. An accident is just a signal to you that you might need to offer the potty a little more frequently.
Your Top Questions About Toilet Training and Autism Answered
When you’re toilet training a child with autism, a lot of very specific questions pop up. It’s completely normal to wonder if you’re doing things right. Below, I’ve pulled together some of the most common questions our specialists and I hear from parents, with real-world answers to help you feel more confident on this journey.
How Long Does Toilet Training Take for an Autistic Child?
This is almost always the first question parents ask. The honest truth? There’s no set timeline. Neurotypical kids might get the hang of it in a few weeks or months, but for children with autism, the process often takes longer. This isn’t a reflection of failure—it’s just a reality of navigating sensory sensitivities, communication hurdles, and ingrained routines.
The best thing you can do is shift your focus from the calendar to your child’s progress. Success isn’t about hitting a deadline; it’s about celebrating the small wins. Seriously, a calm ten-second sit on the potty, a successful flush, or just one dry trip to the store are all huge victories. These are the steps that build lasting habits. We always tell families to adapt the plan as their child grows, not to rush toward some arbitrary finish line.
What if My Child Is Scared of the Toilet?
A fear of the toilet is incredibly common, and it makes perfect sense when you think about it. The flush can be a sudden, deafening roar. The seat can feel shockingly cold. Being perched up high can feel unstable and scary. For a child with sensory sensitivities, these things are genuinely overwhelming.
The only way through this is with patience and gradual steps—never force. Start by just making the bathroom a happy, no-pressure place. Let them decorate the walls with stickers or play with a favorite toy on the bathmat. You can make flushing a game, especially with the lid down to muffle the sound. A super sturdy footstool and a comfy, padded seat insert can also make a world of difference in helping them feel physically secure.
A child’s fear is real. Your role is to be a safe guide, not a drill sergeant. Reward any positive interaction with the bathroom space—even just stepping inside calmly—to slowly replace fear with curiosity and comfort.
We’ve also seen great success with social stories that use actual photos of your child going through the steps. But remember, the golden rule is to never, ever force a fearful child to sit on the toilet. That strategy almost always backfires, creating a negative association that’s much harder to undo.
How Can My Nonverbal Child Tell Me They Need to Go?
For a nonverbal child, establishing a clear way to communicate the need to go potty isn’t just helpful—it’s essential. The goal is to give them a reliable tool to signal you before an accident happens. Whatever method you choose, consistency is everything.
Here are a few options that work well, depending on your child’s abilities:
- A Simple Sign: Teach a basic, easy-to-perform sign, like patting their tummy or the official ASL sign for “toilet.”
- Picture Exchange (PECS): A laminated picture of a toilet that your child can grab and hand to you is a classic for a reason. Just make sure it’s always in a place they can easily reach.
- Communication Device: If your child uses an AAC (Augmentative and Alternative Communication) device, program a dedicated button that says “toilet” or shows the icon.
In the beginning, you’ll still be relying heavily on your timed schedule. But here’s the key: right before every single scheduled trip to the toilet training toilet, prompt them to use their communication method. You might gently guide their hand to the PECS card and help them hand it to you before you both walk to the bathroom. With tons of practice, they’ll start to make the connection and initiate on their own, which is a massive leap toward independence.
At Georgetown, we understand that every child’s path to success is unique. Our multidisciplinary team of educational psychologists, occupational therapists, and ABA specialists is dedicated to creating individualized plans that honor your child’s needs. If you’re looking for expert guidance, learn more about our early intervention services.